At one point or another, many of us have used a local computing environment for machine learning (ML). That may have been a notebook computer or a desktop with a GPU. For some problems, a local environment is more than enough. Plus, there’s a lot of flexibility. Install Python, install JupyterLab, and go!
What often happens next is that model training just takes too long. Add a new layer, change some parameters, and wait nine hours to see if the accuracy improved? No thanks. By moving to a Cloud computing environment, a wide variety of powerful machine types are available. That same code might run orders of magnitude faster in the Cloud.
Customers can use Deep Learning VM images (DLVMs) that ensure that ML frameworks, drivers, accelerators, and hardware are all working smoothly together with no extra configuration. Notebook instances are also available that are based on DLVMs, and enable easy access to JupyterLab.
Benefits of using the Vertex AI custom training service
Using VMs in the cloud can make a huge difference in productivity for ML teams. There are some great reasons to go one step further, and leverage our new Vertex AI custom training service. Instead of training your model directly within your notebook instance, you can submit a training job from your notebook.
The training job will automatically provision computing resources, and de-provision those resources when the job is complete. There is no worrying about leaving a high-performance virtual machine configuration running.
The training service can help to modularize your architecture. As we’ll discuss further in this post, you can put your training code into a container to operate as a portable unit. The training code can have parameters passed into it, such as input data location and hyperparameters, to adapt to different scenarios without redeployment. Also, the training code can export the trained model file, enabling working with other AI services in a decoupled manner.
The training service also supports reproducibility. Each training job is tracked with inputs, outputs, and the container image used. Log messages are available in Cloud Logging, and jobs can be monitored while running.
The training service also supports distributed training, which means that you can train models across multiple nodes in parallel. That translates into faster training times than would be possible within a single VM instance.
Example Notebook
In this blog post, we are going to explain how to use the custom training service, using code snippets from a Vertex AI example. The notebook we’re going to use covers the end-to-end process of custom training and online prediction. The notebook is part of the ai-platform-samples repo, which has many useful examples of how to use Vertex AI.
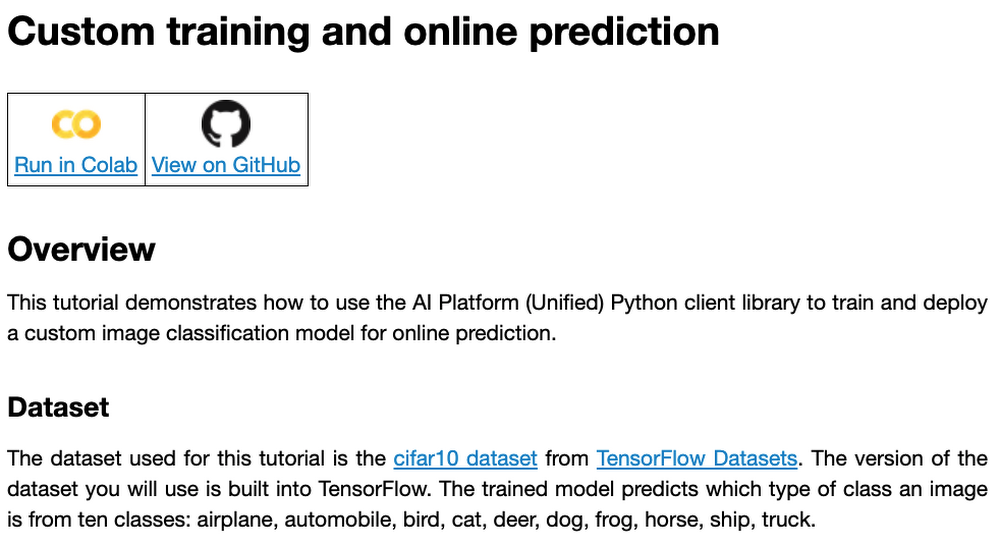
Figure 1: Custom training and online prediction notebook
Custom model training concepts
The custom model training service provides pre-built container images supporting popular frameworks such as TensorFlow, PyTorch, scikit-learn, and XGBoost. Using these containers, you can simply provide your training code and the appropriate container image to a training job.
You are also able to provide a custom container image. A custom container image can be a good choice if you’re using a language other than Python, or are using an ML framework that is not supported by a pre-built container image. In this blog post, we’ll use a pre-built TensorFlow 2 image with GPU support.
There are multiple ways to manage custom training jobs: via the Console, gcloud CLI, REST API, and Node.js / Python SDKs. After jobs are created, their current status can be queried, and the logs can be streamed.
The training service also supports hyperparameter tuning to find optimal parameters for training your model. A hyperparameter tuning job is similar to a custom training job, in that a training image is provided to the job interface. The training service will run multiple trials, or training jobs with different sets of hyperparameters, to find what results in the best model. You will need to specify the hyperparameters to test; the range of values to explore for those hyperparameters; and details about the number of trials.
Both custom training and hyperparameter tuning jobs can be wrapped into a training pipeline. A training pipeline will execute the job, and can also perform an optional step to upload the model to Vertex AI after training.
How to package your code for a training job
In general, it’s a good practice to develop your model training code that is self-contained when especially executing them inside containers. This means the training codebase would operate in a standalone manner when executed.
Below is a template of such a self-contained, heavily-commented Python script that you can follow for your own projects too.
Note that the MODEL_DIR needs to be a location inside a Google Cloud Storage (GCS) bucket. This is because the training service can only communicate with that and not with our local system. Here is a sample location inside a GCS Bucket to save a model: gs://caip-training/cifar10-model where caip-training is the name of the GCS bucket.
Although we are not using any custom modules in the above code listing, one can easily incorporate them as we would normally inside a Python script. Refer to this document if you want to know more. Next up, we will review how to configure the training infrastructure, including the type and number of GPUs to use, and submit a training script to run inside the infrastructure.
How to submit a training job, including configuring which machines to use
To train a deep learning model efficiently on large datasets, we need hardware accelerators that are suited to run matrix multiplication in a highly parallelized manner. Distributed training is also common when it comes to training a large model on a large dataset. For this example, we will be using asingle Tesla K80 GPU. Vertex AI supports a range of different GPUs (find out more here).
Here is how we initialize our training job with the Vertex AI SDK:
(aiplatform is aliased as from google.cloud import aiplatform)
Let’s review the arguments:
display_namerefers to a unique identifier to the training job used for easily locating it.script_pathrefers to the path of the training script to run. This is the script we discussed in the section above.container_urirefers to the URI of the container that will be used to run our training script. For this, we have several options to choose from. For this example, we will usegcr.io/cloud-aiplatform/training/tf-gpu.2-1:latest. We will use this same container for deployment as well but with a slightly changed container URI. You can find the containers available for model training here and the containers available for deployment purposes can be found here.requirementslet us specify any external packages that might be required to run the training script.model_serving_container_image_urispecifies the container URI that would be used during deployment.
Note: Using separate containers for distinct purposes like training and deployment is often a good practice, since it isolates the relevant dependencies for each purpose.
We are now all set up to submit a custom training job:
Here, we have:
model_display_name that provides a unique name to identify our trained model. This comes in handy later down the pipeline when we would deploy it using the prediction service. args are our command-line arguments typically used to specify things like hyperparameter values.replica_count denotes the number of worker replicas to be used during training. machine_type specifies the type of base machine to be used during training. accelerator_type denotes the type of accelerator to be used during training. If we are interested in using a Tesla K80, then TRAIN_GPU should be specified as aip.AcceleratorType.NVIDIA_TESLA_K80. (aip is aliased as from google.cloud.aiplatform import gapic as aip.)accelerator_count specifies the number of accelerators to use. For a single host multi-GPU configuration, we would set the replica_count to 1 and then specify the accelerator_count as per our choice depending on the resource available under the corresponding compute zone.
Note that model here is a google.cloud.aiplatform.models.Model object. It is returned by the training service after the job is completed.
With this setup, we can actually start a custom training job that we can monitor. After we submit the above training pipeline, we should see some initial logs resembling this:

Figure 2: Logs after submitting a training job with aiplatform
The link highlighted in Figure 2 will redirect to the dashboard of the training pipeline which looks like so:
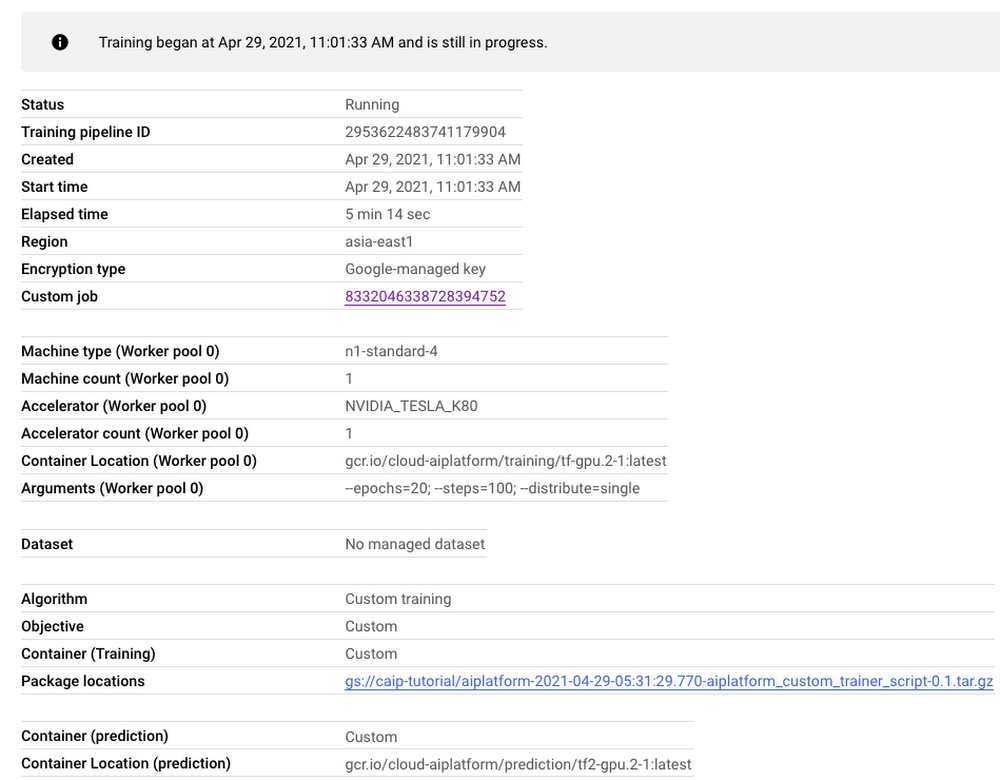
Figure 3: Training pipeline dashboard
As seen in Figure 3, the dashboard provides a comprehensive summary of all the necessary artifacts related to our training pipeline. Monitoring your model training is also very important especially to catch any early training bugs. To view the training logs, we need to click the link beside the “Custom job” tab (refer to Figure 3). There also we are presented with roughly similar information as shown in Figure 3 but this time it includes the logs as well:
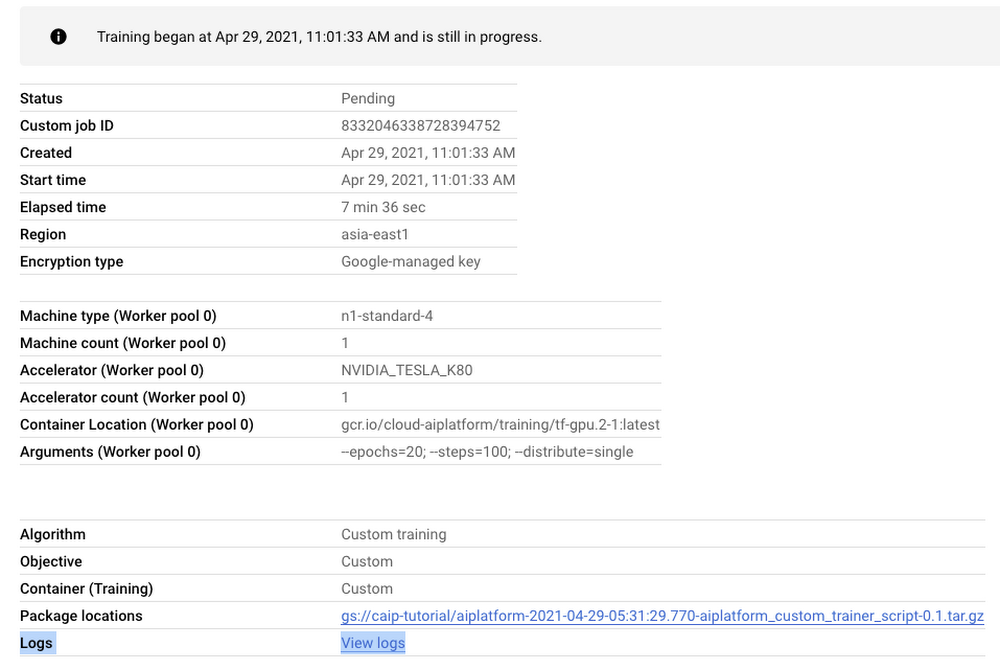
Figure 4: Training job dashboard
Note: Once we submit the custom training job, a training pipeline is first created to provision the training. Then inside the pipeline, the actual training job is started. This is why we see two very similar dashboards above but they have different purposes.
Let’s check out the logs (which is maintained using Cloud Logging automatically):
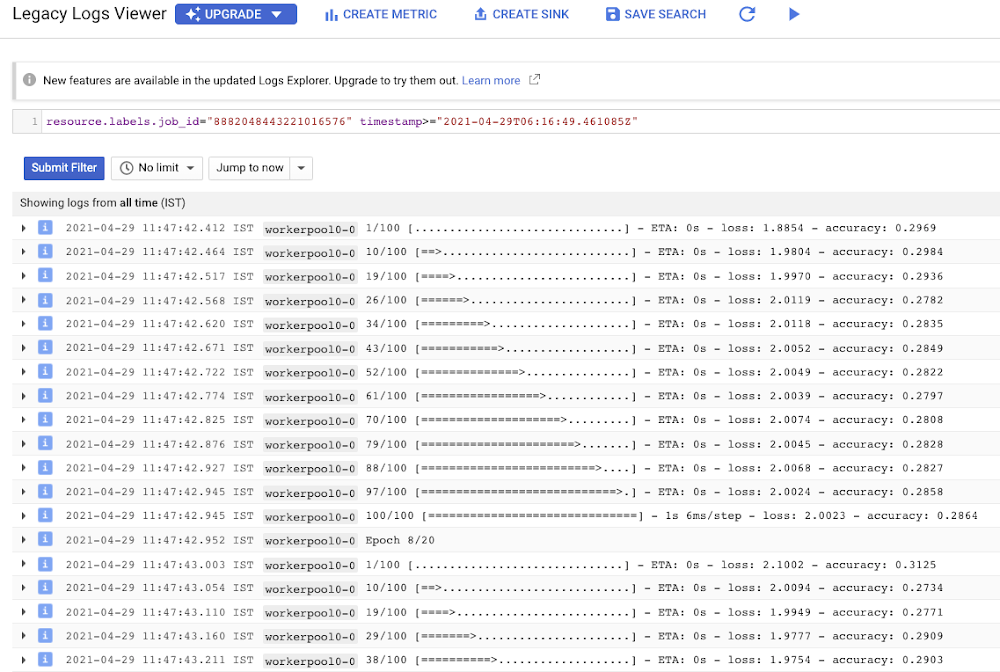
Figure 5: Model training logs
With Cloud Logging, it is also possible to set alerts on the basis of different criteria. For example, alerting the users when the training job fails or completes so that some immediate action could be taken. You can refer to this post for more details.
After the training pipeline is completed, on your end, you will notice the success status:

Figure 6: Training pipeline completion status
Accessing the trained model
Recall that we had to serialize our model inside a GCS Bucket in order to make it compatible with the training service. So, after the model is trained, we can access it from that location. We can even directly load it using the following line of code:
Note that we are referring to the TensorFlow model that resulted from training. The training service also maintains a similar “model” namespace to help us manage these models. Recall that the training service returns a google.cloud.aiplatform.models.Model object as mentioned earlier. It comes with a deploy() method that allows us to deploy our model programmatically within minutes with several different options. Check out this link if you are interested in deploying your models using this option.
Vertex AI also provides a dashboard for all the models that have been trained successfully and it can be accessed with this link. It resembles this:
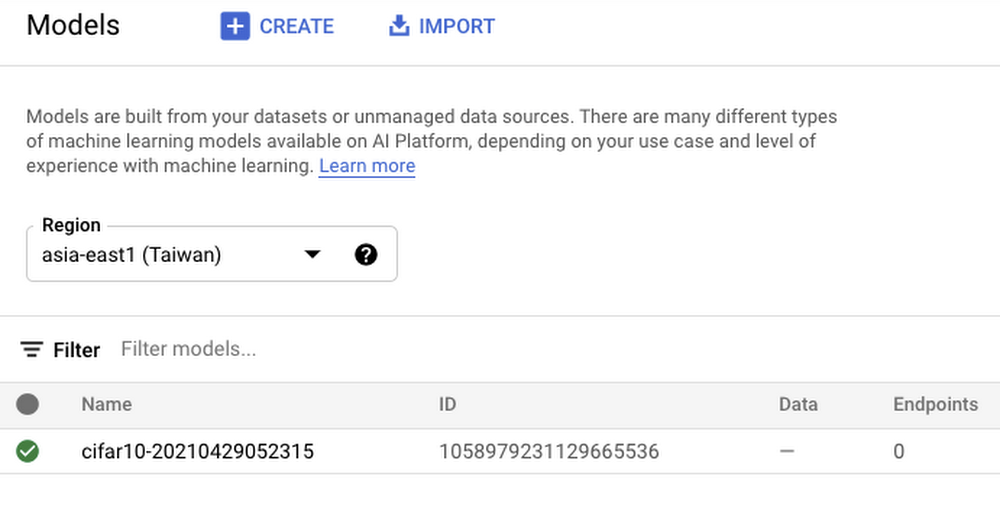
Figure 7: Models dashboard
If we click the model as listed in Figure 7, we should be able to directly deploy from the interface:
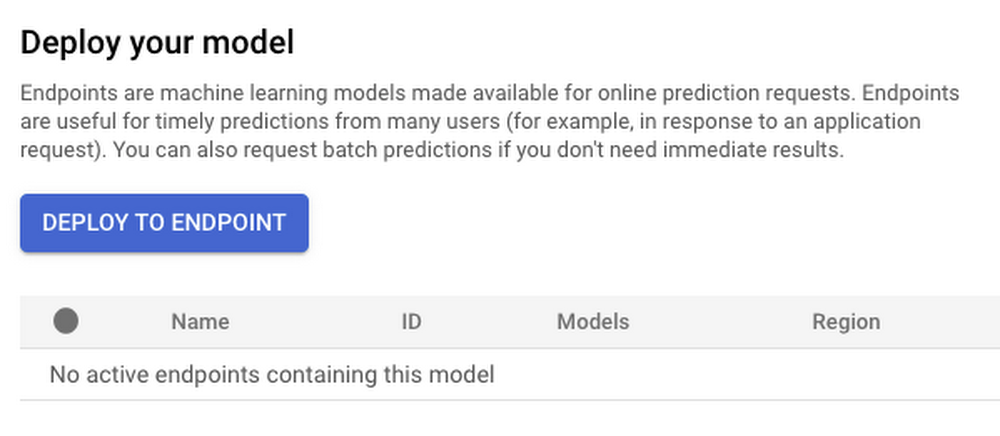
Figure 8: Model deployment right from the browser
In this post, we will not be covering deployment, but you are encouraged to try it out yourself. After the model is deployed to an endpoint, you will be able to use it to make online predictions.
Wrapping Up
In this blog post, we discussed the benefits of using the Vertex AI custom training service, including better reproducibility and management of experiments. We also walked through the steps to convert your Jupyter Notebook codebase to a standard containerized codebase, which will be useful not only for the training service, but for other container-based environments. The example notebook provides a great starting point to understand each step, and to use as a template for your own projects.

